Fun Day Video Edit Assignment
Editing a Show Segment in Premiere Pro

Assignment: Fun Day Video Edit Re-creation
Fun Day Video Edit - order of clips
Fun Day Video Edit - order of clips
- 5610
- 5619
- 5611
- 5616
- 8135
- 5626 (2) - v/o with visuals of 8132 0 & 5624 & lower thirds
- 8131
- 5626
- 8148
- 5621 & 5622 - v/o with visuals of 5622 & lower thirds
- 5622 - v/o with visuals of 8139
- 5622 - v/o with visuals of 8149 & 8141 & 8147
- 8142
- 5625 - with lower thirds
- 5625 - v/o with 7707 & 8151 & 8154
- 8159
Project Setup
- Create a new folder within you student # for this specific activity/project
- Transfer media for editing into this new project folder
- Open Premiere Pro CC and create a new project file (ie: Student Name_Project Name_v1)
- Import media into the Project window in Premiere Pro
- Create a “New Sequence from Clip” using one of the video clips you imported in
- Delete the actual clip in the video/audio track in the Sequence in the Timeline
- Try to keep your tracks organized. Rename both Video and Audio Tracks as shown below.
For examples CLICK the images below.
|
Renaming Tracks
|
Organizing Tracks
|


Start by inserting a Black Video Clip on your Timeline
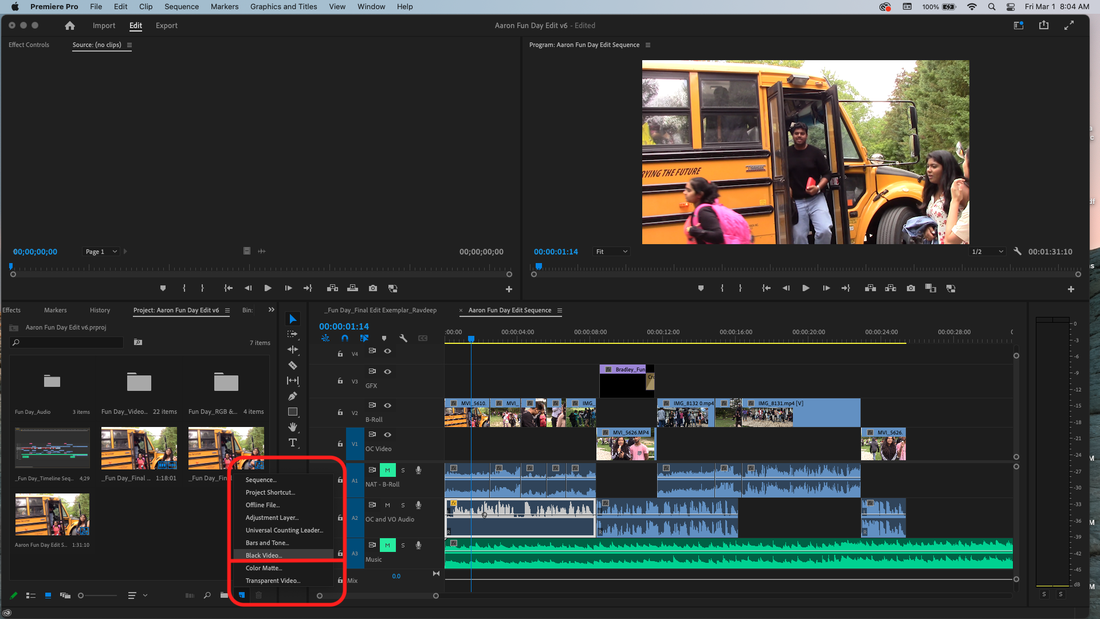
Beginning a Rough Cut Edit
- Begin creating a “Rough Cut” of your segment by trimming clips in the “Source Monitor” in the order of the story
- “Mark In” and “Mark Out” points for trimming each clip in the “Source Monitor” then drag either video and audio of the clip to the sequence
- Begin your "Rough Cut" edit by trimming you V/O (Voice Over) clips first and placing them on the appropriate audio track.
- Trim your O/C (On-Camera) and Invu (Interview) clips to continue the segment story.
- Then trim and add your "B-roll" clips to fill in and help keep the story visually engaging where there is V/O.
Adjusting Audio Levels
- Play entire segment video back, watch and listen to see where you might need to make adjustments to audio levels, in/out points of clips etc.
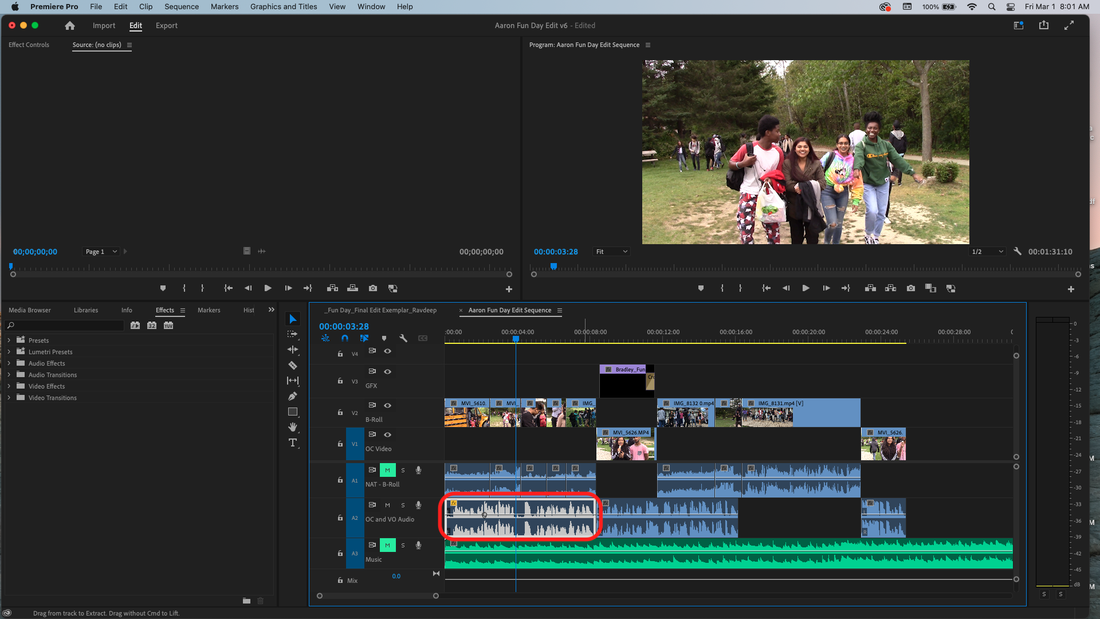
- You should notice that the V/O clip is only recorded in the left channel (ie: it's a mono clip when it needs to be a stereo clip) and as a result is not loud enough. See below for the steps to correct this.
|
Changing Mono Clip to Stereo
|
Modifying with Audio Channels
|


|
Modifying Channels within the Clip 1/2
|
Modifying Channels within the Clip 2/2
|


Review Clip in Timeline for Applied Modification
Adjusting Audio Levels Cont'd
3. Adjusting audio levels accordingly as shown in the images below. Remember to mute all tracks that you are not editing at that particular time so that you are isolating the appropriate audio.
For examples CLICK the images below.
|
1. Setting Audio Levels
|
2. Adjusting Audio with Audio Gain
|


|
3. Adjusting Audio Gain by + or - dB
|
4. Using the Pen Tool to adjust Audio Peaking
|


Adjusting Audio Levels Cont'd
4. Have another listen through the entire edit now that you have made your audio adjustments. Ensure that you have unmuted all audio track so that you can listen to the full audio mix.
4. Have another listen through the entire edit now that you have made your audio adjustments. Ensure that you have unmuted all audio track so that you can listen to the full audio mix.
Adding Graphics
- Add your necessary graphics (GFX) throughout the story segment. All graphics should be on the designated GFX video track.
- Each story segment will require the following: Full Title Page, Lower Thirds and Bug.
- Review animated graphics once imported into Premiere to see if they require additional Video Transitions to be added during the editing process.
- In the case below (ie: Fun Day Edit) we required a Cross Dissolve Video Transition to be added to the end of the graphic so that it gradually dissolved off screen.
For examples CLICK the images below.

Render and Export Final Video
- Before we can include our edited segments into our class show, we need to render the edit and finally export it to a video file.
For step by step process for both Rendering and Exporting what the short tutorials below.
|
|
|
Assignment Rubric: Fun Day Video Edit
